Autotask - Using the Client Portal
Overview
This provides instructions on how to use the Next7 Autotask client portal.
This provides instructions on how to use the Next7 Autotask client portal.
-
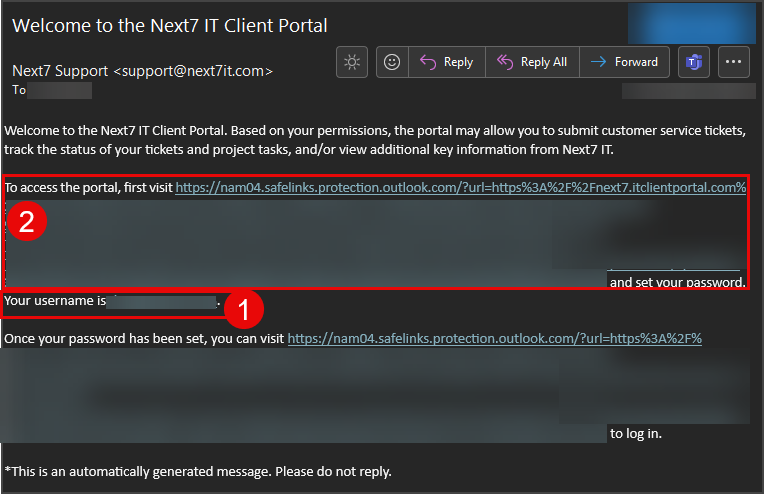
1Client Portal Welcome Email - Set Your PasswordYou'll receive a welcome email from Next7 Support.
- Take note of your username in the email.
- Click the first link to change your password.
-
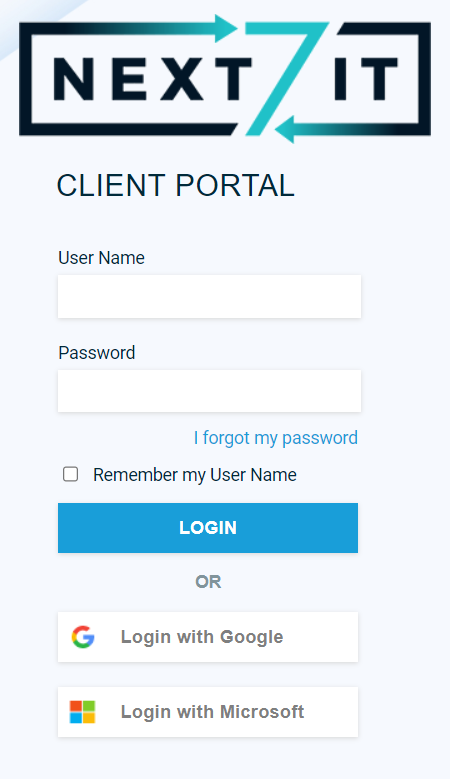
2Access the client portalAccess the client portal at next7.itclientportal.com/. Consider adding this as a bookmark.
-
3Login with your email address and password.
-
4The Dashboard Page Contains Metrics

There are ticket metrics and project information on the dashboard. -
5Click the Home Icon to See Additional Information and Approve Quotes
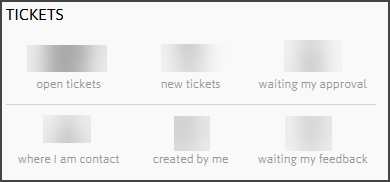
 Information includes:
- Counts of tickets in various statuses
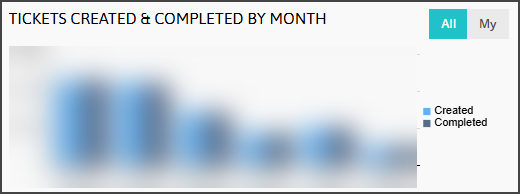
- Tickets created and completed by month
- Quotes
- Click quote to approve the quotes that are assigned to you.
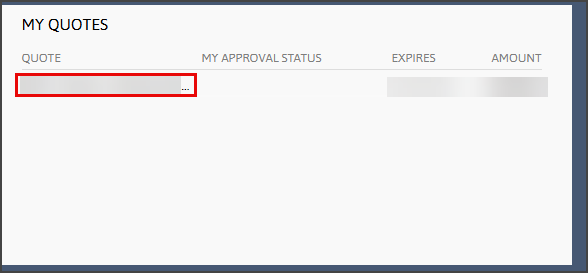
- Click Approve and then click Submit
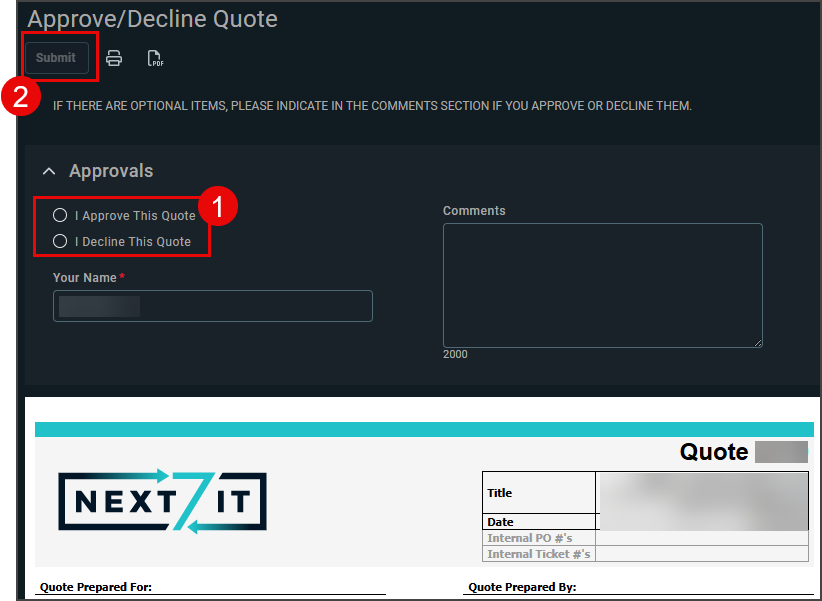
- Click quote to approve the quotes that are assigned to you.
- Recent Invoices

- Counts of tickets in various statuses
-
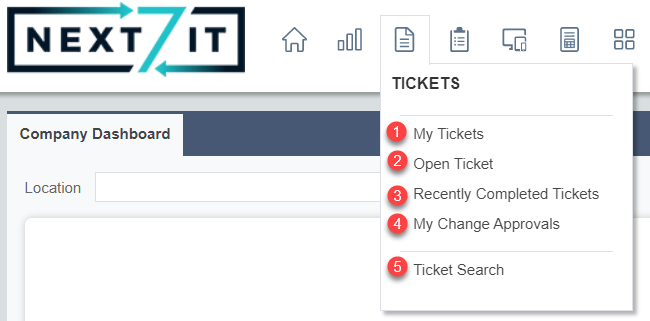
6To Access Ticket Information
- My Tickets: Tickets that have you as the contact:
- Open Tickets: All open tickets for your company.
- Recently Completed Tickets: Tickets that have been recently closed.
- My Change Approvals: If a ticket requires a change approval, they will be displayed here.
- Ticket Search: Search for tickets based on your own criteria.
-
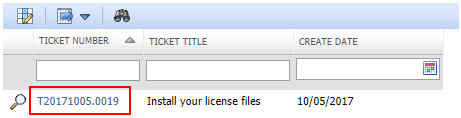
7On any of the above pages, click on the ticket number to open up additional details about that ticket, including ticket description and work entries.
-
8To Access Project Information
- Hover Projects and click My Projects
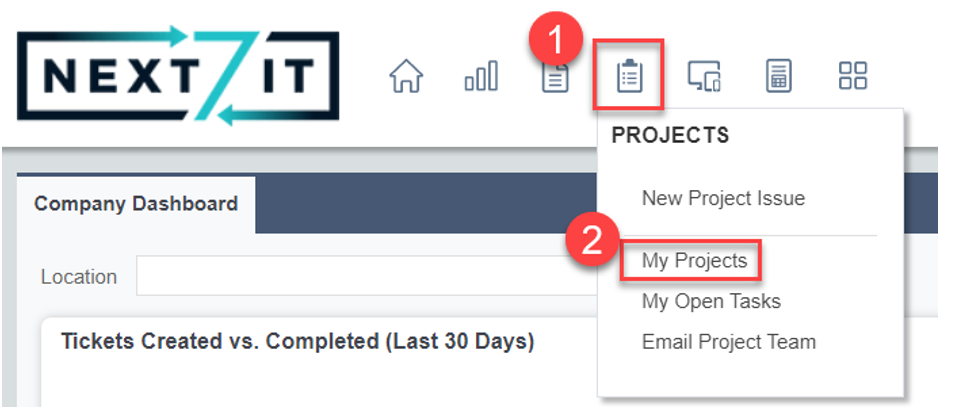
- Click the project name to open it up.
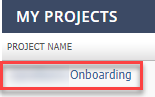
- The project schedule will show you status on the various tasks in the project.

- Hover Projects and click My Projects
-
9To Access Invoice History
- Hover over Reports and click Invoices
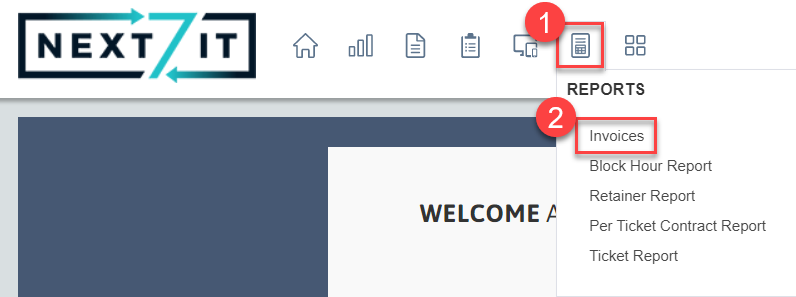
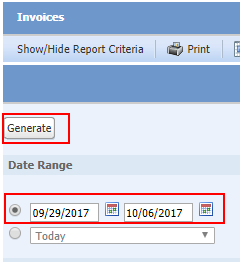
- Fill out the date range of the invoices you would like to view and click Generate
- Hover over Reports and click Invoices
-
10To Submit a Support Request
- Hover over the Custom Links icon
- Click Submit Support Request

Did this answer your question?